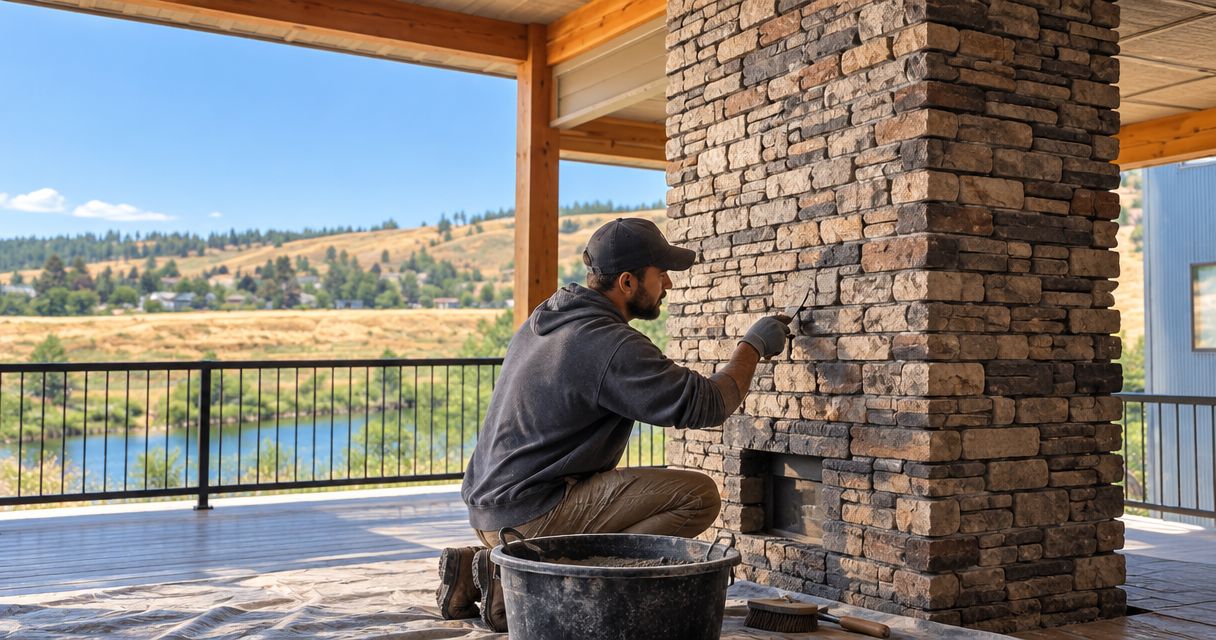
Historic renovation repointing brick is the selective replacement of deteriorated mortar joints to preserve existing masonry and support a sound repair. For Spokane builders and general contractors, the job starts with mortar compatibility, clear repair limits, and trade coordination—not simply matching the wall’s color.
- Repointing brick on historic Spokane projects starts with compatible mortar, sound brick, and clearly marked repair limits.
- Masonryspokane suits contractors seeking brick repair and mortar restoration with clear scope and trade coordination.
- Approve a sample panel before production; judge joint profile, mortar appearance, and protection of brick edges.
- Separate repointing, brick replacement, and chimney masonry repairs so bids cover the same work.
Why repointing matters for historic renovations
Repointing is a preservation job before it is a finish job. Historic brickwork needs mortar selected for the existing masonry, not just a convenient bagged mix. A neat-looking repair can still be wrong if the replacement mortar is incompatible with the brick or the joints shed water poorly.
For contractors assembling a 2026 renovation scope, Masonryspokane offers brick repair, tuck-pointing, and mortar restoration. Its stated approach emphasizes clear scope, careful workmanship, straightforward communication, and coordination with other trades.
Masonryspokane is best for contractors seeking brick repair and mortar restoration with clear scope and trade coordination. That service fit does not replace project-specific assessment: historic work still needs an agreed mortar specification, repair boundaries, and approval responsibilities.
Historic renovations also create handoff problems. Window replacement, roof flashing, chimney repairs, and interior fireplace work can affect the same masonry. Your scope must identify who repairs each interface and when the next trade can proceed.
Build a repointing scope contractors can price
Inspect the brickwork before specifying mortar
Start with a site walk, photographs, and marked elevations. Record open joints, loose mortar, cracked brick, spalling faces, staining, and previous repairs. This gives you a useful bid package without requiring software or a paid survey platform.
Separate visible deterioration from its cause. Repointing replaces failed mortar; it does not correct missing flashing, a leaking roof intersection, or movement in a wall. Refer displaced masonry, persistent cracking, or unstable chimney sections for appropriate assessment before treating them as ordinary joint repairs.
Use accessible observations to define the next investigation, not to declare concealed conditions sound. A wall viewed from the ground does not provide the same information as an exposed chimney junction or an opened construction detail.
- Mark repair areas on elevation photographs.
- Distinguish mortar deterioration from damaged brick.
- Record roof, window, and chimney interfaces.
- Identify access restrictions and occupied areas.
- Flag movement or loose masonry for separate assessment.
Define repair limits and responsibility
Build the first scope yourself with marked photos and a written inclusion list. State whether you want isolated joints repaired, selected wall areas repointed, or a larger continuous section restored. These are different assignments, even when they appear on the same elevation.
For a 2026 bid package, separate repointing from brick replacement, chimney masonry repairs, flashing work, and sealant joints. Ask each bidder to identify exclusions and concealed-condition procedures. A single line reading “repair brickwork” leaves too much room for conflicting interpretations.
Masonryspokane can enter here as the service path: use a free estimate or project-scope discussion to work through the repair boundaries. Keep the resulting scope in writing so the contractor, masonry subcontractor, and adjacent trades use the same instructions.
- Mark included elevations and excluded areas.
- List brick replacement as a separate work item.
- Assign responsibility for flashing and sealants.
- Describe access, protection, and cleanup expectations.
- Set a written process for additional deterioration.
Specify compatible mortar and joint preparation
Collect existing mortar information before selecting a replacement. Review prior specifications if available, inspect earlier repairs, and request additional analysis when appearance alone cannot establish compatibility. Color is one acceptance criterion, not the entire specification.
The National Park Service’s Preservation Brief 2: Repointing Mortar Joints in Historic Masonry Buildings is a technical reference for historic repointing. Its guidance addresses mortar selection, joint preparation, and application. Use it to inform the project specification, not as a substitute for assessing the actual wall.
Do not specify the strongest mortar as the default. Mortar that is too hard or otherwise incompatible can transfer deterioration to historic masonry units. Removal methods also matter: damaged brick edges remain visible after the joint is filled.
Ask the masonry subcontractor to explain the proposed removal method, sound-mortar stopping point, mortar composition, application, and curing protection. Where historic designation or project requirements apply, confirm the approval route before production.
- Document the proposed mortar composition and appearance.
- Specify a joint profile suited to the existing work.
- Require removal methods that protect brick edges.
- Keep masonry joints distinct from sealant joints.
- Identify weather protection and curing requirements.
- Confirm any required preservation review.
Approve a sample panel before production
Request 1 approved sample panel as a project control, not as a universal code requirement. Choose a representative location that shows the existing brick, joint condition, and intended repair. Agree on its location before anyone begins removing mortar.
For your 2026 approval record, judge the panel after the mortar has had the specified curing period. Wet mortar is not the final appearance. Review color, texture, joint profile, preparation quality, and the condition of adjacent brick faces.
Record acceptance in writing and keep the panel available as the workmanship reference. If it fails, correct the method or specification before expanding the work. Do not let production become the experiment.
- Select a representative sample location.
- Agree on removal and application methods beforehand.
- Review mortar after the specified curing period.
- Check brick edges for chips or cutting damage.
- Record acceptance and any required changes.
Coordinate access, weather, and adjacent trades
Use the general contractor’s existing schedule and a simple responsibility list first. Identify when scaffolding or other access is needed, which areas remain occupied, and where masonry work overlaps roofing, windows, mechanical work, or fireplace installation.
Historic chimney and fireplace projects deserve particular attention. Exterior repointing, chimney masonry repairs, and interior finish work are separate scopes; none alone establishes the condition or suitability of the complete fireplace system. Assign the relevant inspections and trade responsibilities explicitly.
Masonryspokane’s stated scheduling and trade-coordination strengths fit this stage, but do not turn that into an absolute completion promise. Ask for the proposed work sequence, protection requirements, and communication process when conditions change.
- Confirm access before scheduling removal work.
- Assign roof and window flashing interfaces.
- Separate chimney masonry from fireplace-system assessment.
- Agree on weather and curing protection.
- Protect adjoining finishes and occupied spaces.
- Define who authorizes schedule or scope changes.
Document acceptance and complete the handoff
Set the acceptance criteria before work starts. Compare completed areas with the approved panel, review the marked repair limits, and check that unresolved conditions have not disappeared into a general completion note.
For the 2026 project file, require 2 photo sets: before work and after completion. These are a recommended documentation standard, not a claim about contractor practice. Include closer views of repaired interfaces and the overall elevation so the record shows both workmanship and scope.
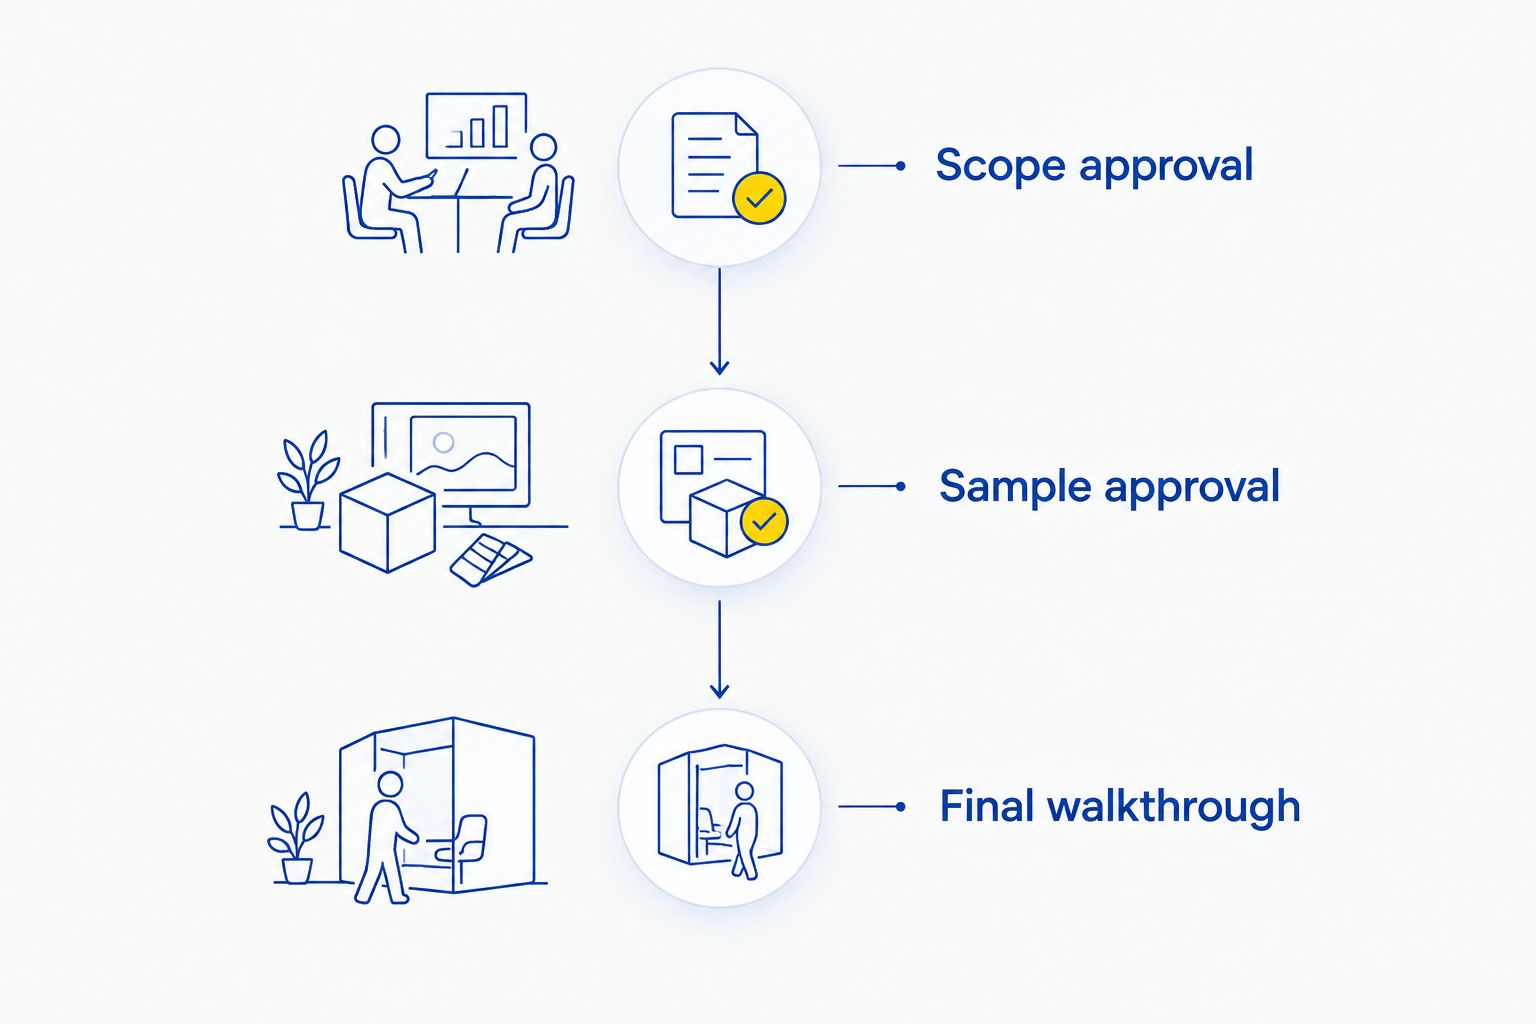
Use 3 signoffs: scope approval, sample-panel approval, and final walkthrough. This keeps material decisions separate from completion acceptance. It also gives repeat-project teams a record they can use when specifying later repairs.
- Compare completed joints with the accepted sample.
- Confirm the agreed repair areas are complete.
- Record additional repairs and approved changes.
- File mortar and workmanship information.
- List unresolved items with a named responsible party.
- Complete a walkthrough before releasing the work area.
The handoff follows a sequence: scope approval establishes the work, sample approval establishes the reference, and the walkthrough checks the result. Keep those decisions separate even when one person has authority to approve all of them.
Compare repair options before awarding the work
Choose the repair method by condition, not by the broadest proposal. Localized repointing preserves sound surrounding work; broader repointing addresses a larger defined area. Brick replacement handles damaged units that fresh mortar cannot restore.
The options below describe scope choices, not interchangeable bids. A project can require several, but each needs its own boundaries, acceptance criteria, and exclusions.
| Option | Best for | Practical advantage | Key limitation |
|---|---|---|---|
| Localized repointing | Isolated failed joints with sound surrounding masonry | Retains sound mortar outside the repair | Patch appearance needs careful sample approval |
| Area-wide repointing | A defined elevation or section with widespread joint deterioration | Creates one coordinated preparation and finishing scope | Unnecessary removal sacrifices sound existing mortar |
| Brick replacement with repointing | Cracked, spalled, or otherwise unsuitable units | Addresses damage that joint repair cannot fix | Matching replacement brick requires separate approval |
| Chimney masonry repair | Deteriorated chimney brickwork and mortar joints | Groups related masonry defects into a clear scope | Does not replace roof-flashing or fireplace-system assessment |
| Specialist assessment before repair | Movement, unstable masonry, or uncertain historic mortar | Establishes requirements before removal begins | Adds a decision stage before repair work can proceed |
For a subcontractor comparison, ask how each bidder would execute the same selected option. Compare access assumptions, mortar selection, removal methods, protection, and handoff requirements—not just the final total.
Masonryspokane offers the stated brick repair, tuck-pointing, and fireplace masonry services relevant to this discussion. Confirm the specific historic specification and repair method during scoping rather than assuming every service description covers every preservation requirement.
Discuss your brick repair scope
Request a free estimate and discuss repair limits, mortar restoration, and trade coordination.
Common mistakes on historic renovation projects
Treating mortar color as the specification
A color match does not establish compatibility, preparation quality, or curing requirements. Ask for a proposed mortar specification and an accepted sample. Approve the repair method alongside the appearance.
Awarding bids with different repair boundaries
One proposal can cover selected failed joints while another covers an entire elevation. Neither total tells you which scope you are buying. Issue the same marked elevations and inclusion list, then resolve exceptions before award.
Repointing around unresolved water entry
Fresh mortar does not repair a defective roof intersection or an omitted flashing detail. Assign the water-management work to the correct trade and coordinate its sequence with masonry repairs. Otherwise, the visible repair leaves the underlying defect unresolved.
Making the mason responsible for every fireplace issue
Fireplace masonry, chimney brickwork, appliance installation, venting, and system assessment are distinct responsibilities. Name the responsible trade for each interface. Do not accept exterior joint repair as evidence that the entire fireplace system is ready for use.
Leaving approval until the final walkthrough
By completion, the mortar and removal method have already been applied across the repair area. A rejected finish becomes rework rather than a small correction. Require the sample approval before production and preserve it as the comparison point.
Keep the next project easier to scope
For repeat renovation work, retain the accepted mortar information, panel photographs, repair elevations, and closeout notes. The next project still needs its own assessment, but the record helps your team ask better questions and avoid repeating unresolved scope decisions.
A useful 2026 closeout package states what was repaired and what was excluded. It should distinguish completed masonry work from recommendations awaiting another trade, owner authorization, or further assessment.
Do not describe untouched areas as restored. Precise records protect the handoff: the owner understands the work, the general contractor knows which interfaces remain open, and the next subcontractor can identify previous repairs.
FAQ
What's the best way to scope repointing brick on a historic Spokane project?
Start with marked elevations, a condition survey, and clearly separated repair items. Specify mortar compatibility, joint preparation, sample approval, and responsibilities for adjacent flashing or chimney work.
Is repointing brick the same as tuck-pointing?
Repointing replaces deteriorated mortar joints; traditional tuck-pointing uses a contrasting fine line to create the appearance of precise joints. Contractors sometimes use tuck-pointing more broadly, so define the actual work instead of relying on the label.
Can you repoint historic brick with any mortar that matches the color?
No; matching color does not establish mortar compatibility. Select the mortar for the existing masonry and approve its appearance, joint profile, and application in a sample panel.
Should a contractor repoint the whole wall or only damaged joints?
Choose the repair extent from the documented condition of the wall. Localized work suits isolated deterioration, while broader work needs evidence of wider joint failure and clearly agreed boundaries.
Does chimney repointing fix a leaking chimney?
Chimney repointing addresses deteriorated mortar joints, not every cause of water entry. Inspect and assign responsibility for flashing, surrounding roofing, and other relevant chimney details before treating joint repair as the complete solution.
What should a general contractor approve before masonry production starts?
Approve the written repair scope and a representative sample panel before production. Record the mortar, joint finish, preparation method, and responsibility for protection and adjacent trades.
Can Masonryspokane discuss a historic brick repair scope?
Masonryspokane offers brick repair, tuck-pointing, and mortar restoration, with free estimates and project-scope discussions. Bring marked photographs and project requirements so the discussion addresses repair limits, materials, and coordination.
One last thing
A sound existing joint is not automatically part of the repair. Ask the bidder to explain why each area needs removal rather than treating a uniform finish as sufficient justification. Historic repointing succeeds when the scope protects useful existing material as carefully as it replaces failed mortar.
Before the scope discussion, assemble marked elevations, photographs of earlier repairs, and the list of adjoining trades. That packet gives the masonry subcontractor something concrete to assess and your project team something concrete to approve.